Text Tags
Text Tags
You can use the tags to group a recurrent text in the model that can then be simultaneously modified everywhere with a single operation. For e.g., you can apply a common tag to a text indicating at several places, the material used in a feature of the model and every time this material changes, it would suffice to change only one tag.
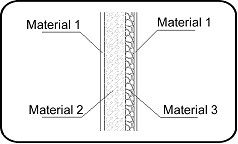
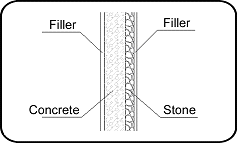
In the example below, the figure shows the details of a composite wall. Tags have been assigned to the material text and the Text tag command has been used to change these texts. There is only one repetitive text ("Material 1") in this example, but in a more complex design, the same text may appear several dozen times and you can change them all at once.
|
Before using the command |
After using the command |
\tag
The following menu appears after you run this command:
Assign TAG for the text
Modify selected texts
Modify all texts
Assign TAG for the text
In order to use tags, you need to first assign them to a text. When you choose this option, the command asks you to enter the name of the tag: you can either type the name yourself, or press Enter to choose a name in the dialog box of the predefined text.
Next, you have to indicate each text to which this tag is to be assigned or press Enter to assign it to all the selected text.
Modify selected texts
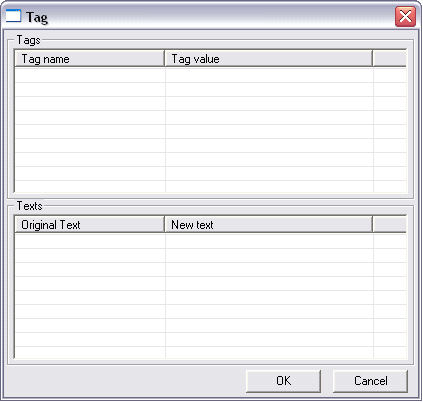
When you choose this option, the Text tag dialog box appears and displays all the tags defined in the model and the texts that belong to the selection group:

You can then modify the text on the tags, or the text attached to these tags by simply typing the new name in front of the original text or by double clicking on the line to access the predefined text dialog box.
Modify all texts
This is a variant of the previous option the only difference being that the selection is extended to all the texts of the model.


