Scan Image
Home > 25 Raster Support > Scan Image
Scan Image
This command enables you to insert an image in the model from your scanner.
\imgscan
The Scan dialog box appears as you activate this command:
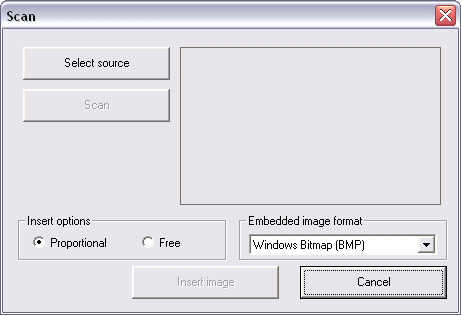
Click the Select button to access a dialog box, which enables you to select the source scanner from a list of scanners installed on your system. Select a scanner and click the select button to apply the selection.
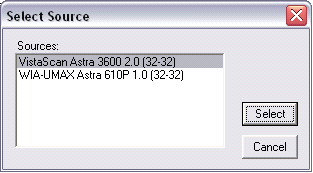
 IMPORTANT: If no scanner is installed on your system, the Select button will be deactivated or an error message will be displayed.
After you select the scanner, click the Scan button to access the driver of your scanner which enables you to control the scan settings :
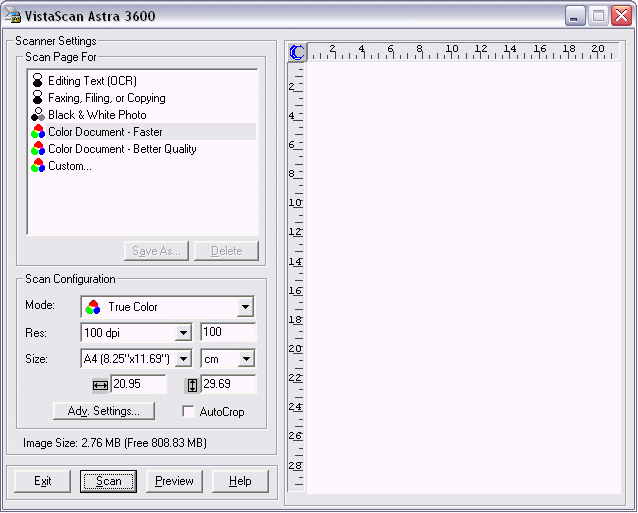
 NOTE: the appearance and options of this dialog box may vary according to the drivers installed on your system.
Click the Scan button to access the Scanner dialog box, where you can now preview the scanned image:
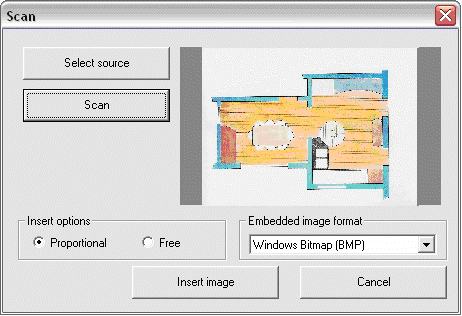
Check the Proportional radio button to insert the image in proportional scale, or the Free radio button to insert the image in free scale.

Click Insert Image to start inserting the scanned image. The dialog box will close automatically.
Press Cancel to exit the dialog box. You will lose the image if you exit the dialog box before inserting the scanned image.
 NOTE: You can cancel the insertion of the image by pressing the Escape key. Nevertheless, the image will be embedded in the ARC+ database, which enables you to insert it in the model by using the /imgplace command and selecting the By list option.
You can continue to insert additional, proportional or free images. The images are inserted by a dynamic frame defined by two points.
At the end of the action, the image will be displayed on the ARC+ screen like the images inserted using the Insert image command.
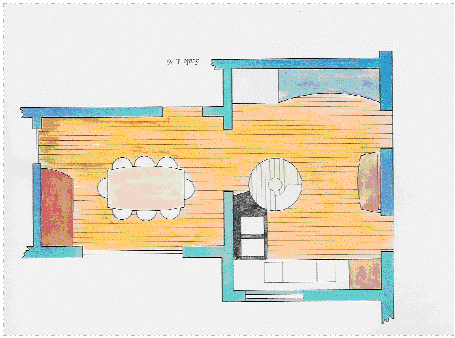
 HINT: You can use the \autotrim command to remove unnecessary color margins caused by the scanning process.
