Rectify the Image
Home > 27 ARC Photo > Rectify the Image
Rectify the Image
This licensed command is launching a dialogue to control the rectification inside ARC+. It will only work when arc+ photo licence if active on yur connected protection key.
\imgrect
Click on the image to be rectified and the ADDON PHOTO APPLICATION will be launched with your image inside.
Zooming and panning
You can use the scroll wheel to zoom and pan as usual in ARC+.
Next to that there are several icons to zoom in with + out with -, 1:1 for exact size, fit the window or to give a specified area by 2 points.

While giving the correct horizontal and vertical directions ands measurements for, you will need to zoom as much as possible for the best results.
Rectification Tools
 |
|
Steps:
|
H |
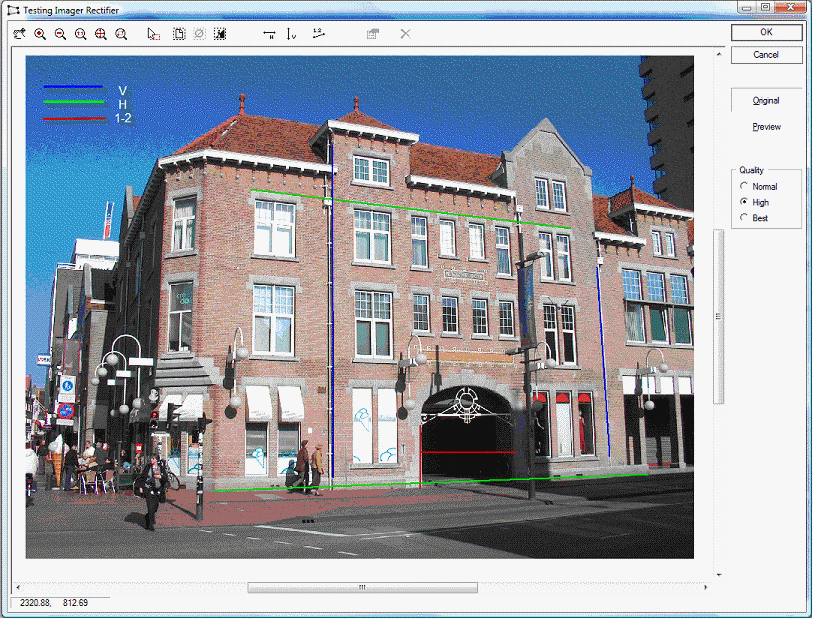
GREEN Give 2 horizontal directions in the photo with each 2 points. |
|
V |
BLUE Give 2 vertical directions in the photo with each 2 points. |
|
1-2 |
RED Give 2 known measurements in the photo to control XY distortion exactly in good relation. |

Preview
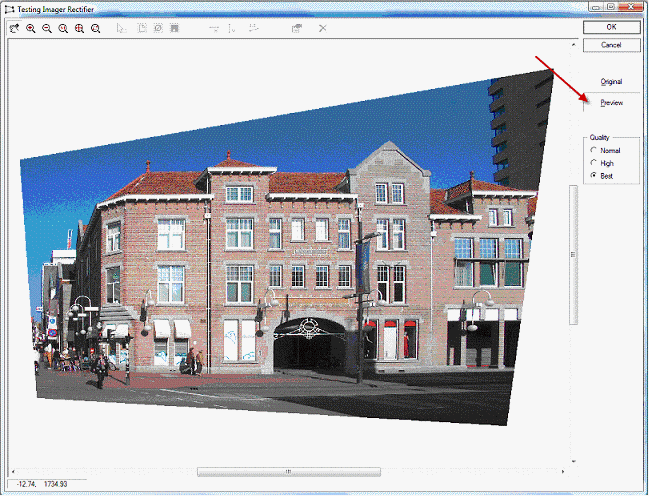
With preview button you can see the results in three qualities. You can switch the original photo by pressing . Also you can set the quality in 3 different values on the right of the screen.

Modify

For the first steps you might not zoom to much and see a fast result. Or you might make a mistake.
|
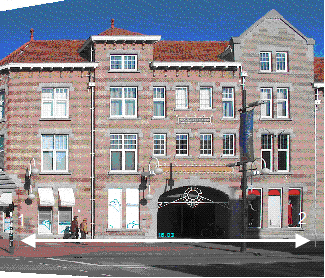
Once your are happy with the results you press 
to place the rectified image in your file by 2 points.
To adjust the image to scale use \imgscale.
You can either give a known distance that you know of the object in reality or click on 2 points in an existing project to fit the photo.

The image can now be controlled by all graphic editing tools in ARC+. For this we refer to Raster Support.
Some suggestions like powerclip, sepia and intensity filters see below:
|
|


