Placing an Opening in a Wall Arc
Home > 06 Openings > Placing an Opening in a Wall Arc
Placing an Opening in a Wall Arc
Insert 2D and 3D openings into wall arcs.
\owarc
These openings are simple non-parametric openings, i.e., they break and close the internal wall layers by a single line. Library openings and end conditions cannot be placed within wall arcs. If you require a specific end condition you must create it locally as an ordinary 2D drawing.
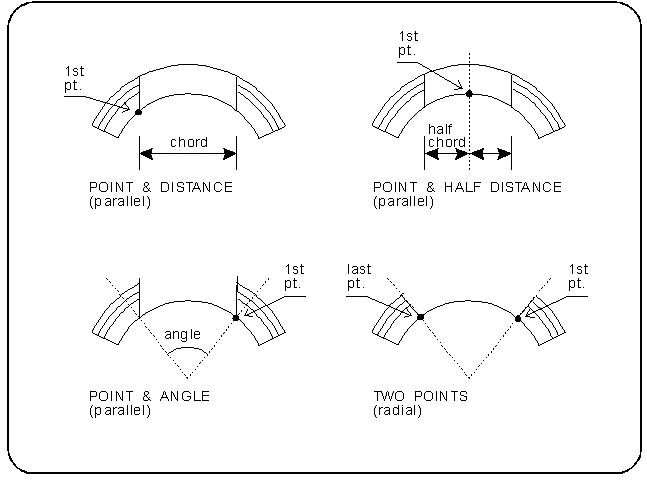
The openings may have parallel sides (jambs) or be radial, i.e., the closing line is at right angles to a tangent at that point, and its extension passes through the center of the arc.
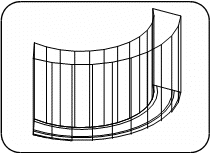
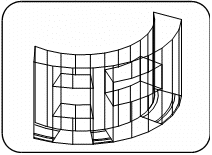
The openings should be created while the walls are two dimensional. If you insert them after the 3D model of the wall has been created, the 3D projection is erased. In order to see the 3D opening delete the 3D model of the walls (\mw2d) and recreate the 3D walls using command (\mw3d).
Operation
Indicate the wall in which the opening is to be inserted.


Specify the opening height and the height of the opening from the base of the wall. State whether the opening sides (jambs) are to be parallel to each other or radial from the center of the arc.
Parallel Sides
If the opening is to have parallel sides, you are offered three options:
Define a starting point, direction and chord length — the opening width is measured along a straight line (chord).
Define a center point and half the chord length — the opening width is measured along a straight line symmetrically about the specified center point.
Define a starting point and angle (counterclockwise = positive value, clockwise = negative value).
Radial Sides
If the opening is to be radial, define the starting and end point of the opening.

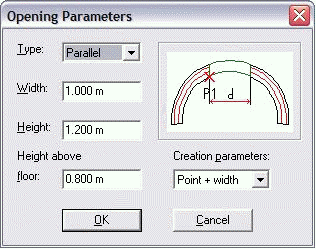
After giving the command, select the Dialog box option. The following dialog box will appear which can be used to:
|
|
•???Select the Type of opening between Radial and Parallel. The figure of opening is automatically updated as per your selection. •???Select the creation method from: 2 points, Point + length, Point + angle. The figure of opening is automatically updated as per your selection. |
Set the Angle of the opening if you select Point + angle as creation method or enter the Length of the opening for other creation methods.
Set the Height of the opening.
Set the Height above floor of the opening.
Once all the parameters are entered correctly, click OK to close the dialog box. The command prompts you to indicate the wall in which you want to place the opening.
Indicate a wall arc.
After indicating the wall, you can see the outline of the opening. Slide along the wall near the cursor. A red colored cross indicates the opening attachment point. You can use the following two options to place it precisely on this point:
Press Alt+1: to place the attachment point symmetrical to the wall.
Press Alt+2: to place the attachment point symmetrical through the wall
Click on the required point to place the opening.

