Creating a Linear Pattern between Two Points
Home > 08 Hatching Patterns > Creating a Linear Pattern between Two Points
Creating a Linear Pattern between Two Points
Draw a specified linear pattern along the lines between two points.
\lpatn
Before using this command, display the model in an orthogonal view (plan or elevation)
Type the character corresponding to the desired linear pattern or press Enter to display the graphic library.
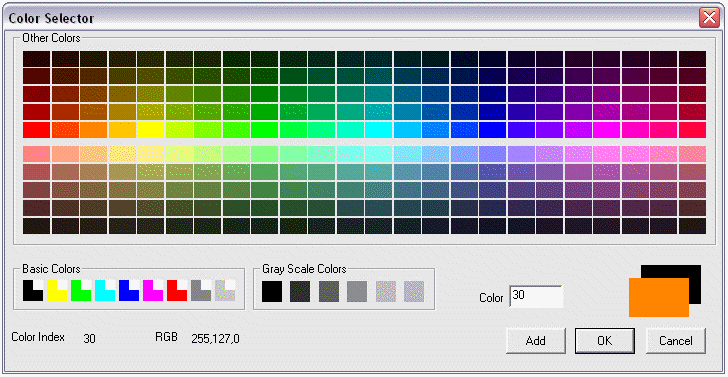
Select the color for the pattern to be drawn using the color selector:

You can select from 255 ARC+ colors. Click on the color you want, then on OK to validate it.
Select fixed or scaled mode (see Text, Text size - fixed or scaled).
Specify the pattern size (height of the repeating unit) in meters for the scaled mode or in millimeters for the fixed mode.
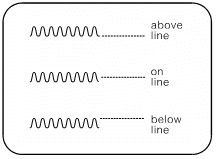
Choose to locate the linear pattern above, on or below the direction line.


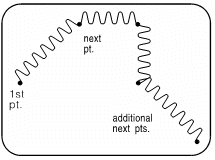
Indicate two points defining the direction line.
The pattern is drawn between the points. Continue indicating points to extend the pattern along further lines. Between any two points, press Enter to start a new line or to reset the pattern attributes.
