Setting the Current Wall Type
Home > 05 Walls > Setting the Current Wall Type
Setting the Current Wall Type
You can use this command to select or define a wall type that you wish to use.
\setmw
You can define the wall type using three methods:
By entering the system name in the command line
By indicating a sample wall
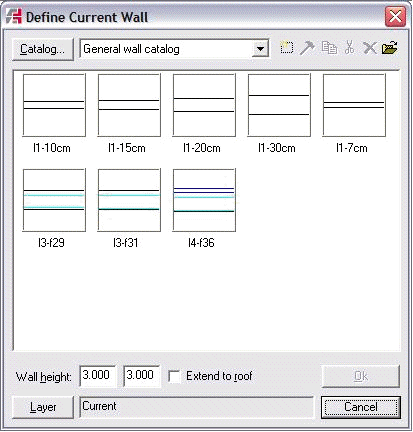
By accessing the dialog box of wall libraries
After selecting / defining the wall, the system transfers you to Create a wall (\mwall) where you can specify the first and subsequent points for the wall.
The specified wall type is used for all walls until you set a new type.
Wall Library Dialog Box
All functions to manage the wall library are included in this dialog box:

Choose the wall type to use.
Enter its height or check the Extend to roof option.
You can change the placing layer by pressing the Layer button.
 NOTE: This function does not apply to the actual setting of the wall type: when you select this wall again, it is placed automatically on the layer, which was set at the time of its creation.
In addition to setting the current wall type, this dialog box enables you to execute following operations:
Catalog... button: Access the wall library manager. The list in front of this button enables you to select the library to explore.
 Create a new wall.
 Edit the setting of selected wall type.
 Copy the selected wall type. During this operation, the system displays a dialog box in which you are required to indicate the library where you want to copy the wall.
 Shift the selected wall type. During this operation, the system displays a dialog box in which you are required to indicate the library where you want to shift the wall.
 Delete the setting of selected wall type.
 IMPORTANT: Deletion of a wall is permanent.
 Import from a wall settings file.
