Creating a PRN file
Home > 20 Plotting and printing > Creating a PRN file
Creating a PRN file
ARC+ enables you to create .prn files from the drawings. The .prn files are files that include all the printing configurations for a drawing. These files are linked to a given printer driver and enable you to print an ARC+ drawing from a computer on which ARC+ is not installed. Provided this computer is connected to the printer for which the .prn file was created.
 EXAMPLE: To enable your client or collaborator who has not installed ARC+ to print the drawing follow the steps below:
Request the client/ collaborator for the name and model of the printer
Download the driver for this model from the website of the printer manufacturer and install it on your PC.
Create a .prn file of the drawing using the print command.
Send the .prn file to your client to enable the client/ collaborator to print the drawing without installing ARC+
Follow the steps below to print the drawing as a .prn file,
Install the printer driver to print the drawing (if it is not already done).
Check the Printer/Plotter option in Device/Image option of the Print Manager
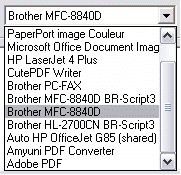
Select the printer from the drop down selection list:

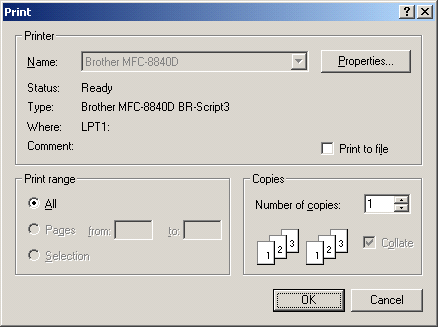
Click on the button . A dialog box to configure the selected printer appears.

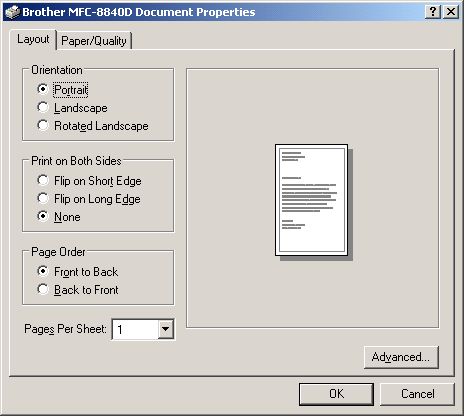
Click on to configure the selected printer driver as desired:

Once the printer is configured, click OK to return to the Print Manager.
Check the box in the Device/Image option of the Print
Manager.
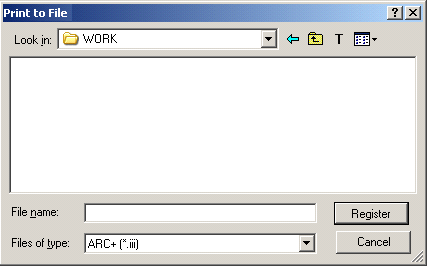
The following dialog box will appear:

Select the name and location of the .prn file .
After the configuration is complete click on to create the .PRN file.
 IMPORTANT! To print a .PRN type file it is recommended to use .PRN files manager. Such utilities (like PrintPRN for example) can be downloaded for free from the internet. For more information on the .PRN format, refer to Windows Help.
