Setting 2D-3D Objects
Home > 15 Placed Objects and Libraries > Setting 2D-3D Objects
Setting 2D/3D Objects
Since ARC+ version 14, the management of 2D/3D objects is based on a specific method that consists of creating two files with the same name, one in 2D and the other in 3D, divided in two directories, named2D and3D respectively, and these have to be placed in a directory with a name that starts with the prefix 2D&3D.
This method proves to be quite different from the one used for the management of parametric openings, it simply consists of saving the 2D and 3D object presentations in the same file with the help of a dialog box maintained specially to choose the presentation to be edited.
You can now create 2D/3D objects following this method for the simplification and uniformization of procedures.
 IMPORTANT: Unlike the openings that exclusively used this method of creation until now, the new objects that use it actually remain objects once placed in a model and are not converted to independent blocks of the source file.
Here is the description of the procedure to create 2D/3D objects:
|
|
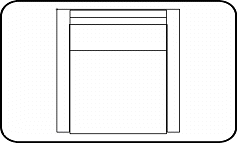
1 Design the 2D presentation of the object by following the basic principles applicable to the creation of any type of 2D object.
|
2 Run the following command :
\libedit
Choose the General libraries then Save Library Object options if you activate this command using the icon.
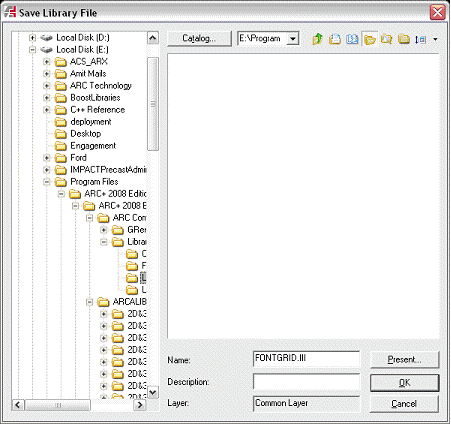
1 In the Save Library Object dialog box, browse the directories to look for the folder that you want to save the object in.
Enter a name in the field Name.
Click on Presentation…
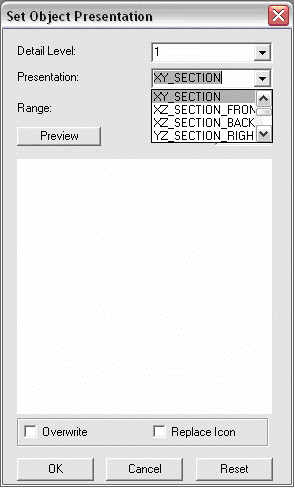
1 In the Choose Object Presentation dialog box, select XY SECTION in the Presentation pull-down list.
2 Click OK.
1 Delete the current design, or open a new file.
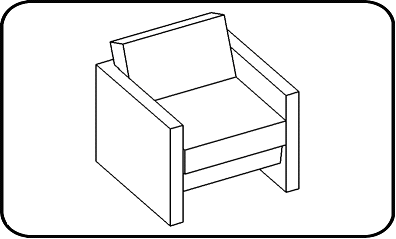
2 Model the 3D presentation of the object by following the basic principles applicable to the creation of any type of 3D object. Ensure that the position of the 3D model with respect to the origin matches with that of the 2D presentation.
3 Run the \libedit command and choose the General libraries then Save Library Object options if you activate this command using the icon.
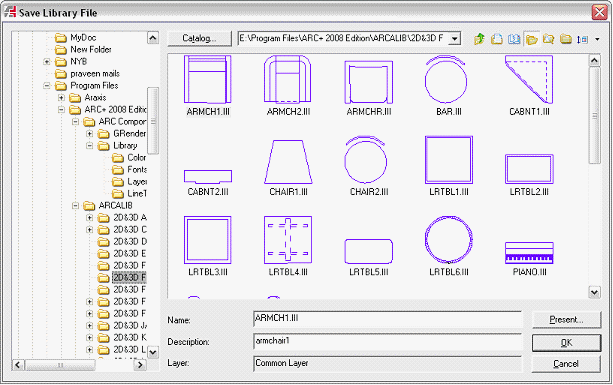
1 In the Save Library Object dialog box, make sure that you are in the same directory as the one in which you previously saved the 2D presentation of the object.
2 Identify the object and click once on its icon, then click on Presentation…
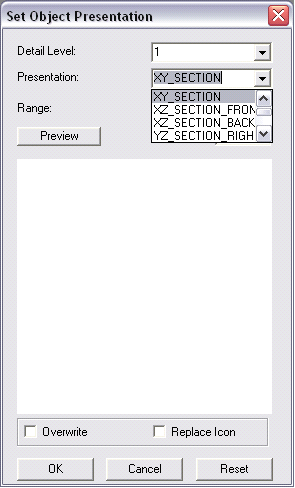
1 In the Choose Object Presentation dialog box, select 3D in the Presentation pull-down list.
2 Check the Replace Icon checkbox if you prefer previewing the 3D presentation of the object to its 2D presentation in the object library.
3 Click OK.
Placing 2D/3D Object and viewing
The placing of the 2D/3D object created by following this method is done exactly in the same way as for any other object. Switching the entire model in 2D or 3D using the regular commands will properly modify the display of this object.

