Filling a Wall Layer with a Linear Pattern
Home > 05 Walls > Filling a Wall Layer with a Linear Pattern
Filling a Wall Layer with a Linear Pattern
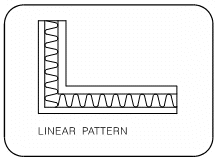
The patterns used to fill the multi-layer walls are defined as regular area fill patterns.
\mwfil
Indicate the wall to be filled.
State whether you wish to fill the indicated wall only or all the walls of the same type.
The command prompts you to specify the number of layers in your wall that are required to be filled.
The linear patterns used for wall layers are defined as regular area patterns and are selected from the same graphic library. They do not possess the properties of text entities, and are not created in the text editor.
 NOTE During a batch operation, since you cannot indicate an entity, you must provide the name of the wall instead of this prompt. You can query the name of the wall by using the Query the attributes of an entity (\qent) command.
Select the pattern color from the color selector:
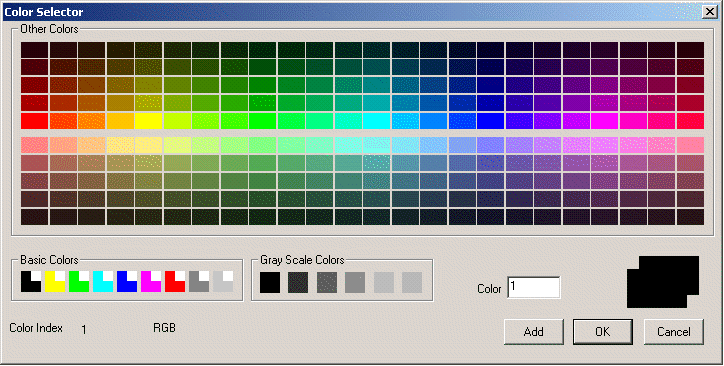
You can choose between the 255 colors of ARC+. Click on the color of your choice and then click OK to validate it.
Hatching a Wall
Hatch the wall layers.
Indicate the wall to be filled.
State whether you wish to fill the indicated wall only or all the walls of the same type.
 NOTE During a batch operation, since you cannot indicate an entity, you must provide the name of the wall instead of this prompt. Since you are prompted to specify the layer number to be hatched, it is important to know which layer is layer number one. The system highlights the first layer of the wall with a dotted line.
Select the hatch pattern option.
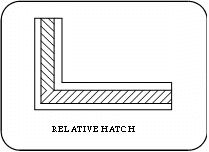
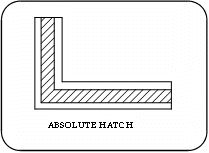
Specify the line attributes—type, color and width (with a space between each value). Specify whether the direction of the hatch is to be relative or absolute:
|
relative
|
The pattern is produced in each wall at the specified angle to the wall itself. |
|
absolute
|
The pattern is produced at the specified angle to the X axis irrespective of the angle of the wall. Thus all the walls are hatched at the same angle. |
If you use relative hatching on wall arcs, the hatch will be executed as follows:
angle 0 deg. produces radial lines
angle 90 deg. produces concentric lines
all other angles are be executed as absolute to the X axis
Specify the reference scale of the hatch, i.e., the scale at which the specified hatch interval is to be displayed at its original size.
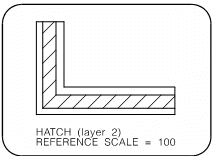
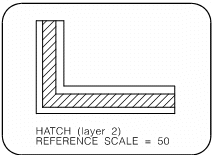
Specify the angle of the hatch lines (0 to 360 degrees). Enter the hatch interval which is the spacing between hatch lines and the shift of the hatch, i.e., the offset of the first line. For more information about these parameters see Hatching and Patterns.
The wall layer is hatched. You can continue creating hatch patterns by selecting one of the following options:
another shift Repeats the same hatch at a new offset to produce a multiple hatch pattern.
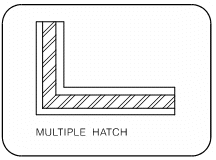
another hatch Define a new hatch on the last layer hatched.
another layer Define a new hatch on another layer.
The previous hatch parameters are used for each new prompt.
 HINT You can achieve sophisticated hatch patterns by defining more than one pattern for a wall layer.
Hatching and Patterns Used in an End Condition
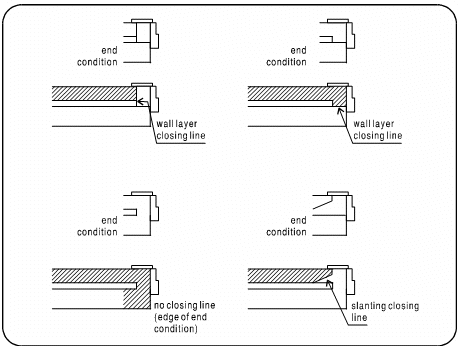
Hatch and fill patterns are now drawn more precisely and can resolve complicated drafting situations, such as wrapping around an end condition in a multi-layer wall.
When you fill a wall layer that includes an end condition with a linear pattern, certain rules apply:
If the wall layer in the end condition is terminated by a line the hatch will stop at that line.
If the wall layer in the end condition is not terminated by a line, the hatch will continue until it reaches the "edge" of the end condition.
